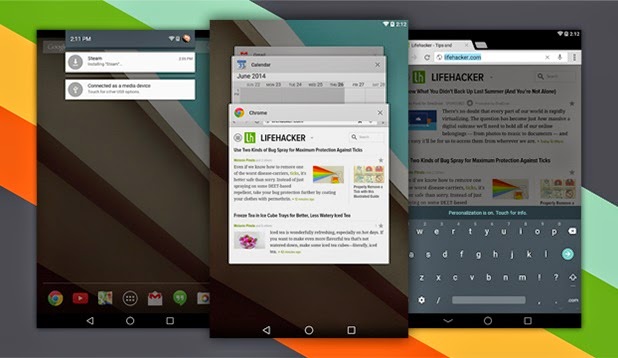
Google simply dropped its first developer preview of the next coming Android version Android L Lollipop. For those who are anxious to get your phones with Android L the latest and greatest, here’s the way to install Android L on your Nexus 5, Nexus 4, Nexus 10, Nexus 7 LTE (2013), Nexus 7 WiFi (2013), Nexus 7 LTE (2012) and Nexus 7 WiFi (2012) at this moment.
How to install Android L developer preview on your Nexus
In start with, you may have to unlock your device, ADB and fastboot installed. Then follow these guidelines:
- Download the Google preview image for your nexus device here of from the above link.
- Unzip the files and locate it in desktop folder.
- Enable debug mode and connect your to your computer by a USB cable.
- Open a command line for ADB.
- Enter adb reboot bootloader to access your device’s bootloader.
- Navigate to the folder containing Google Android L image.
- Enter flash-all to run the script to install Android L on your Nexus device.
The script will take a moment to run and your device may repeat the boot animation for a while (in my tests, it took about five minutes for my device to boot). Once the gadget boots, log in and you’re prepared to go!
Caution: It’s specified on Google’s download pages, that flashing this will erase your device and all your data. Backup your device and store safely on your compute before starting.
